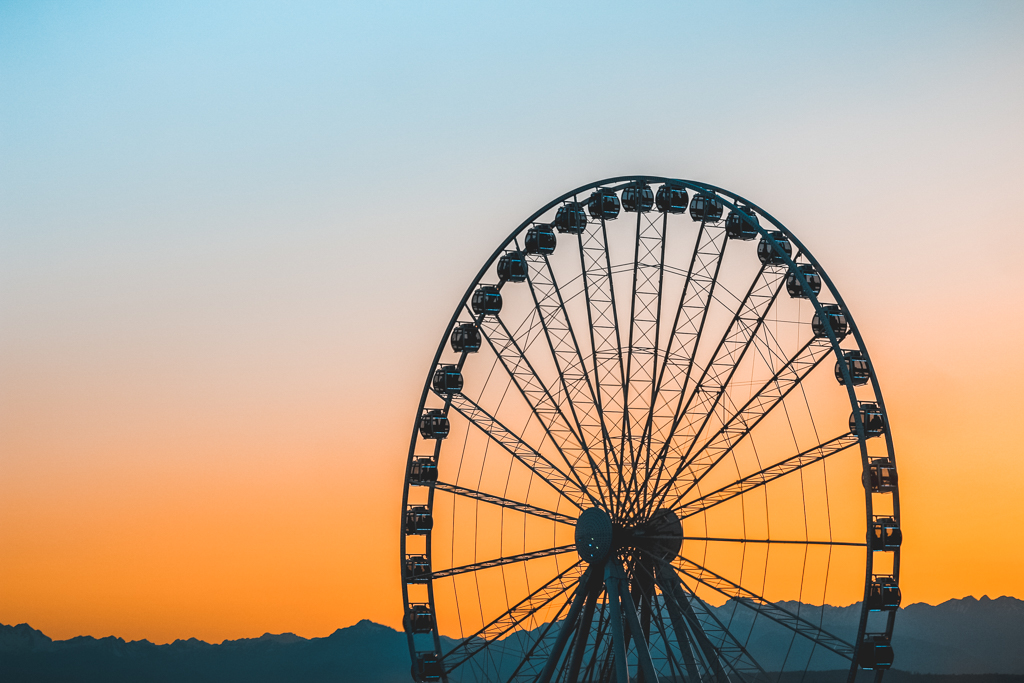
Step into the world of professional photo editing with Lightroom, the ultimate tool for transforming your travel snapshots into stunning works of art. From enhancing colors and exposure to adding creative effects, learn how to edit like a pro and make your travel photos truly unforgettable. Unleash your creativity and take your photography to new heights with the power of Lightroom.

Choosing the Right Presets for Consistent Style
When it comes to editing travel photos, consistency in style can make a huge difference in the overall look and feel of your images. One way to achieve this consistency is by using presets in Lightroom. Presets are pre-determined settings that can be applied to your photos with just one click, saving you time and ensuring that all your images have a similar look.
But with so many presets available, how do you choose the right ones for your travel photos? Here are a few tips:
- Consider the overall aesthetic you want to achieve: Whether you prefer bright and vibrant colors or a moody and dramatic look, there are presets to suit every style.
- Experiment with different presets: Don’t be afraid to try out different presets on your photos to see which ones work best for you. You might be surprised by the results!
- Make adjustments as needed: While presets can be a great starting point, don’t be afraid to tweak the settings to better suit your individual photo.
Understanding the Importance of White Balance and Exposure
When it comes to editing travel photos, mastering the basics of white balance and exposure is crucial. Understanding how these two elements work together can make a huge difference in the final look of your images. White balance refers to the color temperature of a photo, while exposure relates to how light or dark an image appears. By learning how to adjust these settings in Lightroom, you can enhance the overall quality of your travel photos.
One key benefit of properly adjusting white balance is ensuring that the colors in your photos appear true to life. Correcting any color casts can make your images look more vibrant and realistic. Similarly, adjusting exposure can help bring out important details in your photos and avoid overexposed or underexposed areas. With Lightroom’s powerful editing tools, you can fine-tune these settings to achieve the desired look for your travel photos.
Using Lightroom’s intuitive interface, you can easily make adjustments to white balance and exposure with just a few simple clicks. By experimenting with different settings, you can see how small changes can have a big impact on the overall look of your photos. Whether you’re shooting landscapes, portraits, or cityscapes, is key to producing professional-looking travel photos that truly stand out.
Utilizing Local Adjustment Tools for Fine-Tuning
When it comes to editing travel photos, utilizing local adjustment tools in Lightroom can take your images to the next level. These tools allow you to make precise adjustments to specific areas of your photo, giving you more control over the final result. Whether you want to enhance the colors in a sunset, sharpen the details in a landscape, or brighten a dark corner, local adjustment tools can help you fine-tune your image with ease.
One of the key local adjustment tools in Lightroom is the Graduated Filter. This tool allows you to apply adjustments gradually across a specific area of your photo, such as the sky or a horizon line. By using the Graduated Filter, you can selectively adjust exposure, contrast, saturation, and more, creating a more balanced and visually appealing image.
Another powerful local adjustment tool in Lightroom is the Radial Filter. This tool allows you to create a circular or oval-shaped adjustment area, making it perfect for highlighting a subject or creating a spotlight effect in your photo. With the Radial Filter, you can easily adjust exposure, clarity, or other settings to draw attention to specific areas of your image.
Adding the Final Touches with Sharpening and Noise Reduction
Once you’ve perfected the exposure, color, and composition of your travel photos in Lightroom, it’s time to add the final touches to make them truly stand out. Sharpening and noise reduction are two essential tools that can take your images to the next level.
Sharpening
Sharpening enhances the clarity and details in your photos, making them appear crisper and more defined. To sharpen your images in Lightroom, follow these steps:
- Select the Detail panel in the Develop module
- Adjust the Amount slider to increase sharpening
- Refine the Radius and Detail sliders for more precise control
- Use the Masking slider to target specific areas for sharpening
Noise Reduction
Noise reduction helps to minimize the grain or speckles that can appear in your photos, especially in low-light conditions. To reduce noise in Lightroom, try these techniques:
- Navigate to the Detail panel in the Develop module
- Slide the Luminance slider to reduce noise in brightness
- Adjust the Color slider to reduce noise in color
- Use the Detail and Smoothness sliders for further noise reduction customization
In conclusion, mastering the art of editing your travel photos in Lightroom can truly elevate your photography game and bring out the beauty and essence of your adventures. By following the tips and techniques mentioned in this article, you can learn to edit like a pro and create stunning visual stories that capture the heart and soul of your travels. So, grab your camera, pack your bags, and start editing your way to unforgettable memories. Happy editing!

